Custom Category
How to Define the Custom Category
- Click on the Account Setup tab.
- Click on the Account Info link.
- Define the name of your Custom Category field located halfway down the Account Information page.

- Click the Update Information button to save.
How to Populate the Custom Category List
- Click on the Add link under the Actions Menu.
- Click on the name of the Custom Category you have defined.
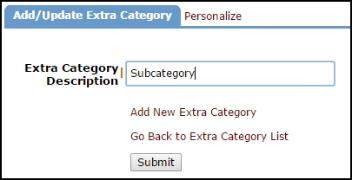
- Enter the Custom Category Description. *Note: These will be the items populated in the Custom Category drop down list on the incident form.
- Click Submit to save.

